Last week I created the ores, this week I have
developed the Sprite Sheet for the Player. This also entailed researching how I
was going to implement the Player sprites. The best way that I can see (might
change upon development) is to use the Animator tool within Unity. This allows
me to simply add each sprite to the animator using 'key frames'. I imagine that
when I get around to implementing this it should be a lot easier seeing as I will
have used 'Key frames' for Unit 601: 3D Modelling and Animation. I imagine that
it won't be much different in Unity.
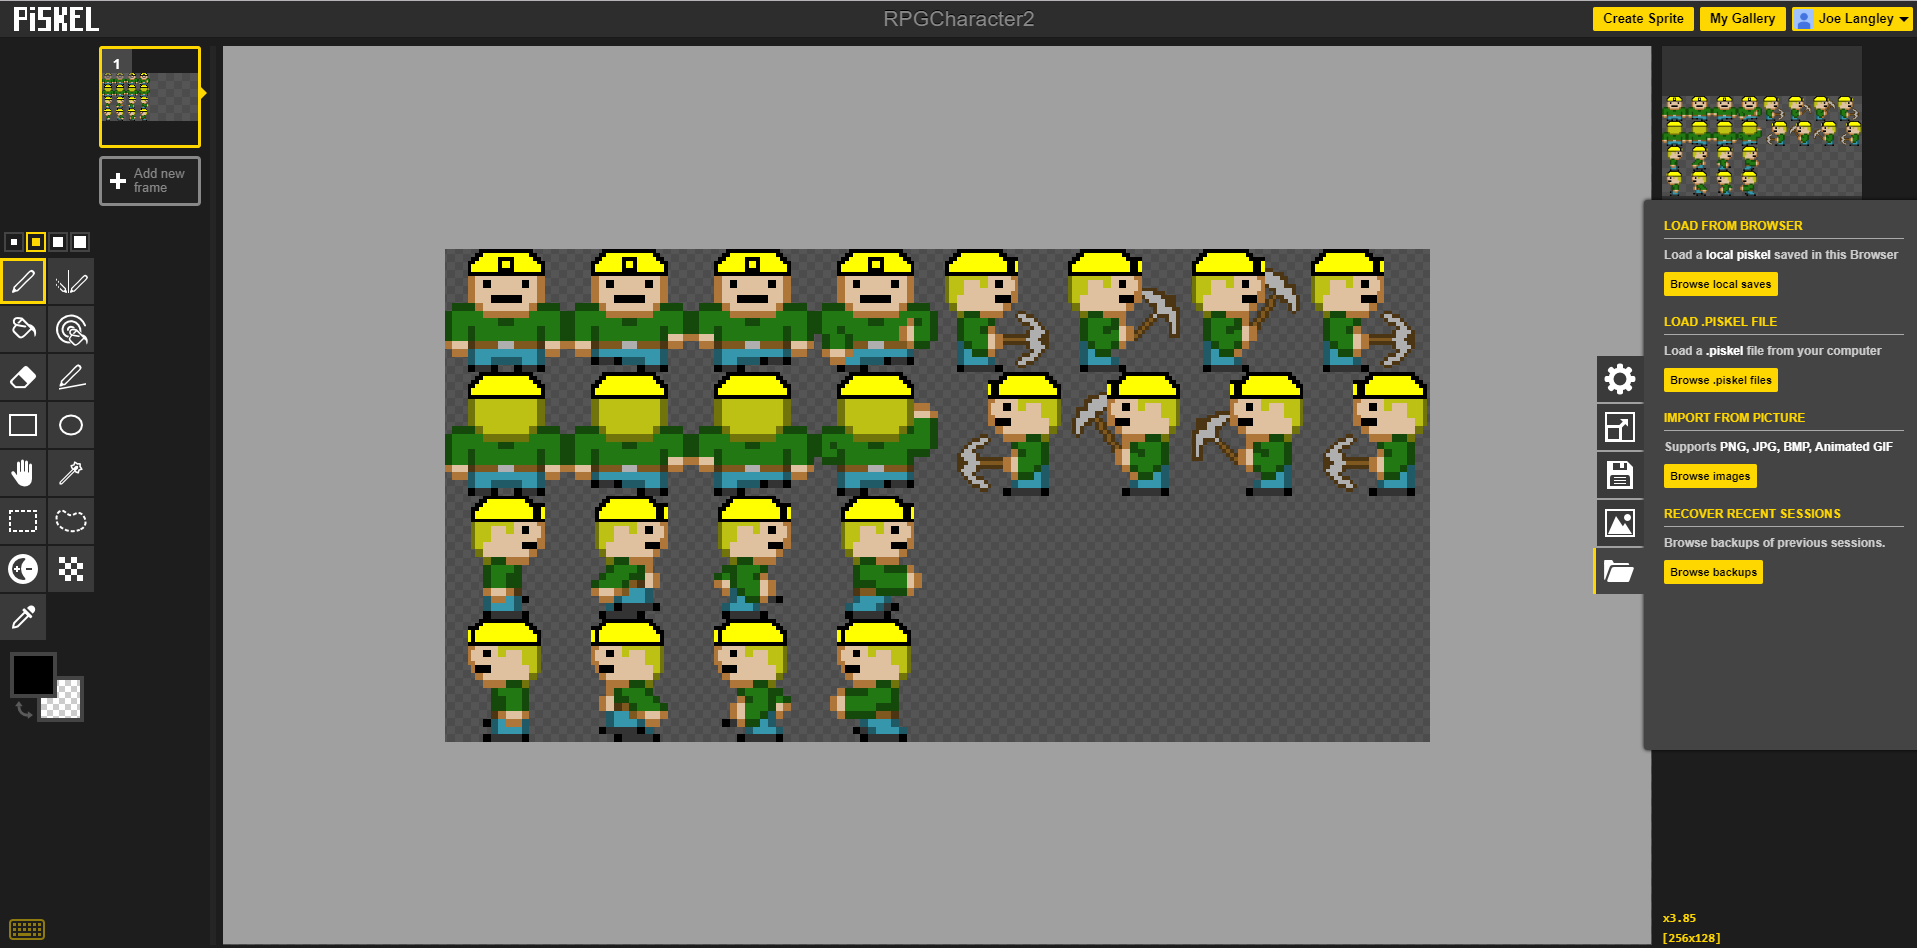
The basic iteration for creating a Sprite Sheet (fig.
1) is to have a motion for each direction. The nice thing about Piskel is
that I can preview how my animation is going to look using the animator tool.
The way this work is by adding each image onto a 'frame' on the left-hand side,
this will then play through at whatever speed I choose on the right-hand side.
The left half of this Sprite Sheet are the movement
animations. The right-side of this sheet is for when the player is mining. Being
able to preview the animation for the mining within Piskel saved me a lot of
time and convenience and allowed me to fine-tweak it.

No comments:
Post a Comment